{featured image courtesy of visitscotland.com}
Is a kilt a skirt for boys??
Well, kind of…
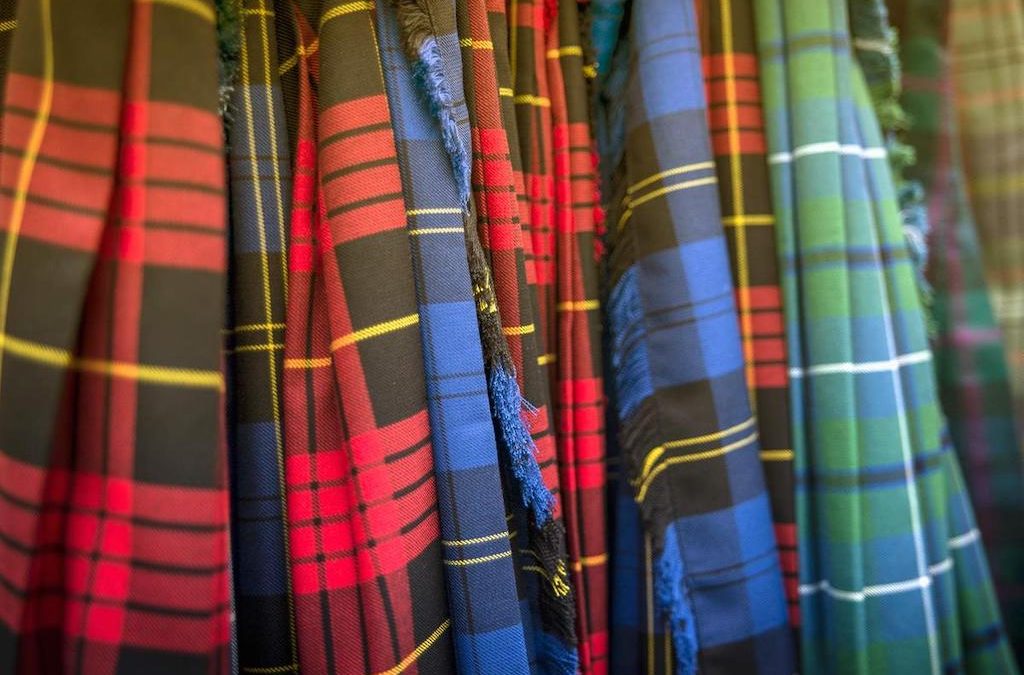
The origins of the kilt are said to have originated from the “great kilt”, which was a combination of a cloak (worn over the shoulder) and then belted at the waist and hanging down to the knee. Over time, the torso portion of the kilt was eliminated, leaving the lower half, or the “walking kilt” portion. It originated in the Scottish Highlands, and was made popular by the military. Today, the kilt is considered “traditional” clothing and is mostly worn for weddings, festivities, performances, or special occasions.
Kilt patterns are based on clans (think of a family’s heritage and its family tree). Each clan creates their own individualistic tartan, or plaid pattern. The kilt pattern is then created from the family tartan or plaid.
Listen as Natasha, a native Scotlander, explains.
Let’s join in the fun!
We can start by pretending we’re Scottish and we’re going to design our own tartan for our “clan” or family. To do this, we start by creating our own pattern, keeping a couple of things in mind:
- A tartan is a fabric made up of horizontal and vertical stripes in different colors on a colored background.
- The interwoven stripes are known as a “sett.” They are made up of warp yarns that run vertically, and waft yarns that run in between the foundational warp yarns. The colors used and the weaving patterns create the individual plaid pattern or tartan.
Share photos of existing tartans for inspiration. Note color combinations and patterns. Pictures of plaid patterns can be found at the following link: https://www.pinterest.com/passportnation/live-it-a-slice-of-life-in-europe/tartan/
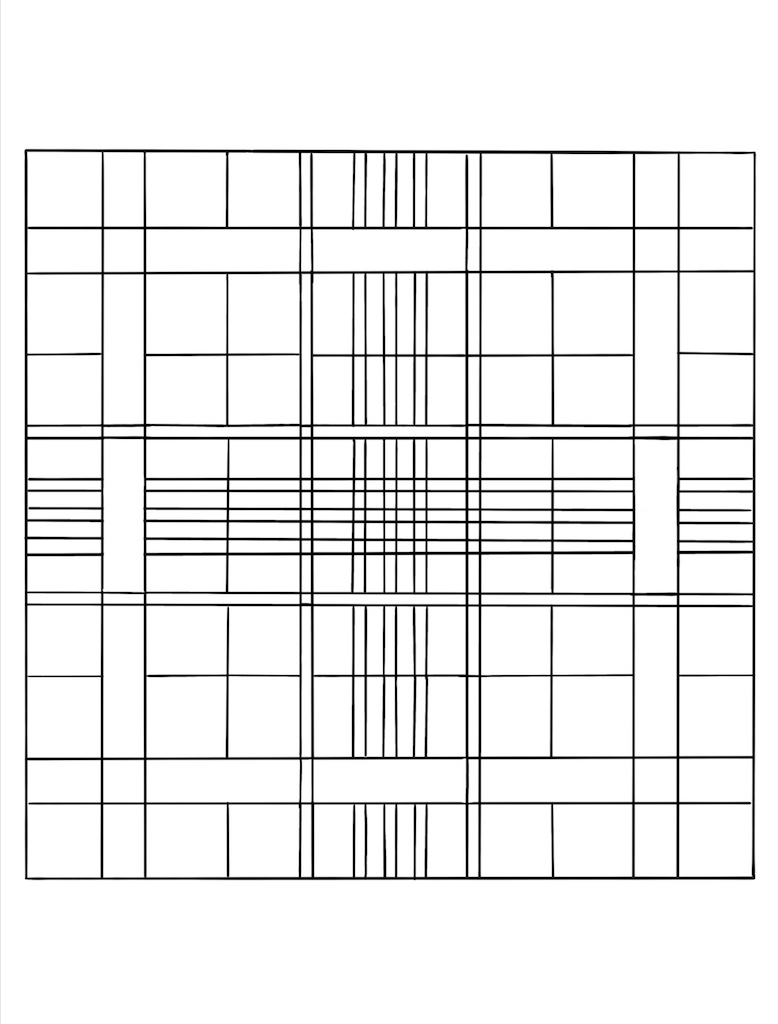
Two levels of difficulty are provided for this activity. Print and provide a plaid template for each student and follow the instructions below.
LEVEL ONE
Materials for Template 1:
- Template 1
- Colored Pencils or Crayons
Instructions:
- Instruct students to use crayons, colored pencils, or water-based markers to color the plaid template.
- Encourage students to choose 2-3 colors and create a pattern by alternating between these colors.
LEVEL TWO
Materials for Template 2:
- Plaid Template 2
- 2 Markers of different colors per student (Ex: blue and green, red and yellow..etc.)
- Two crayons per student.
 Instructions:
The following videos provide further guidance on the process:
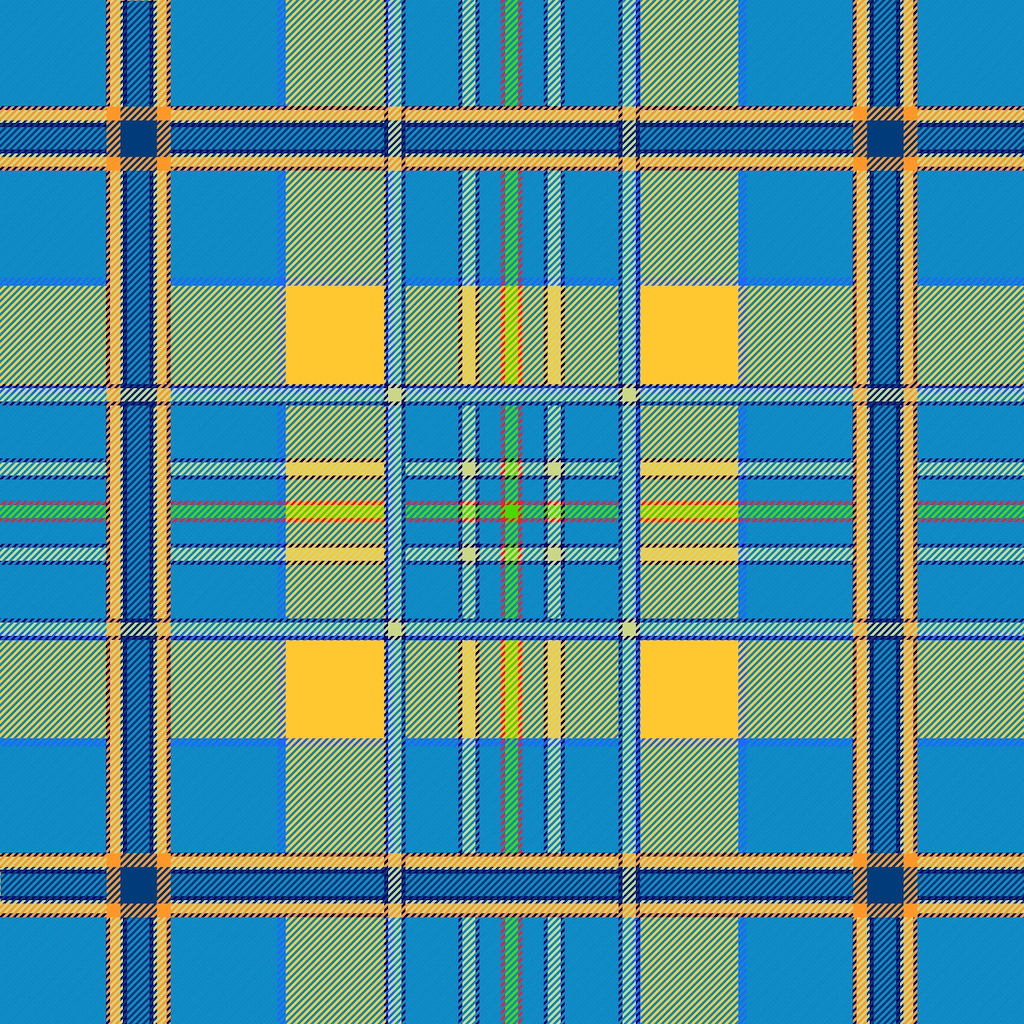
- With one marker, color EVERY OTHER VERTICAL line ONE color.
- Color the remaining VERTICAL lines a SECOND color.
- Using the first color, color EVERY OTHER HORIZONTAL line.
- Color the remaining HORIZONTAL lines the SECOND color
- Using a yellow crayon, draw a thin line on top of all vertical and horizontal lines on the FIRST color.
- Using a black crayon, draw a thin line on top of all vertical and horizontal lines on the SECOND color.
The final product should look something like this: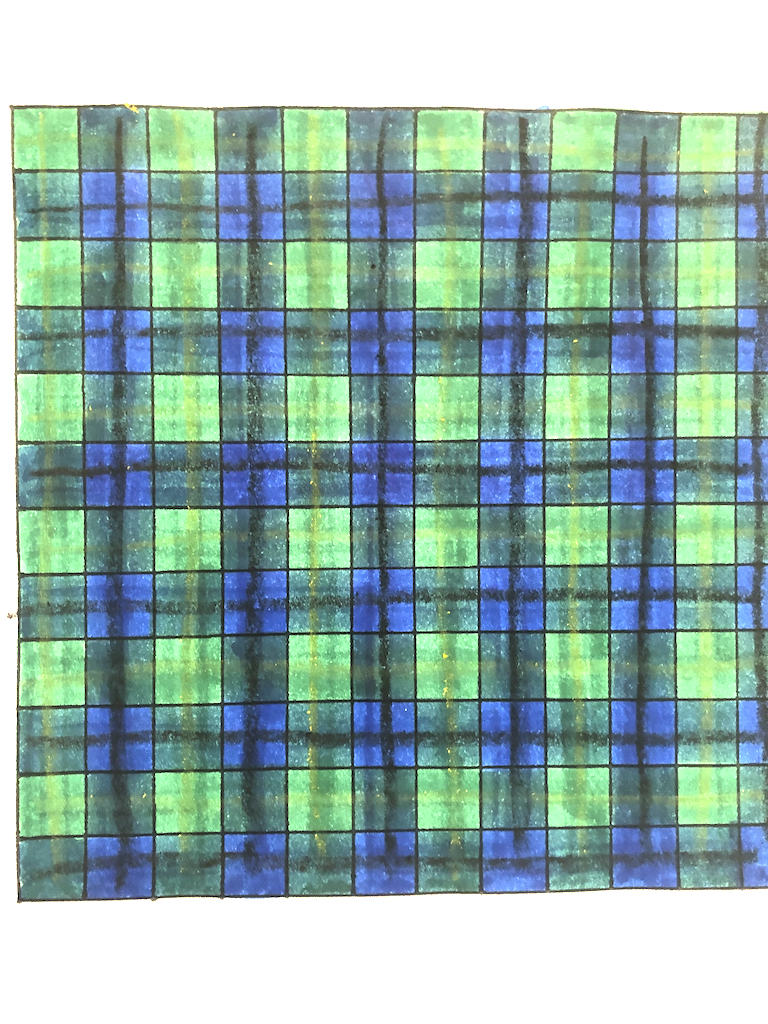
So, what would you think about making a fabric out of this pattern? Remember, that’s called a tartan. The next step, of course, would be to make a kilt from your tartan fabric! And the final step… plan an occasion and wear your kilt!
Following along on this process helps us see that God truly does provide his people with the creativity, intellect, and resourcefulness to create clothing and traditions that help them create their own unique identity and culture!